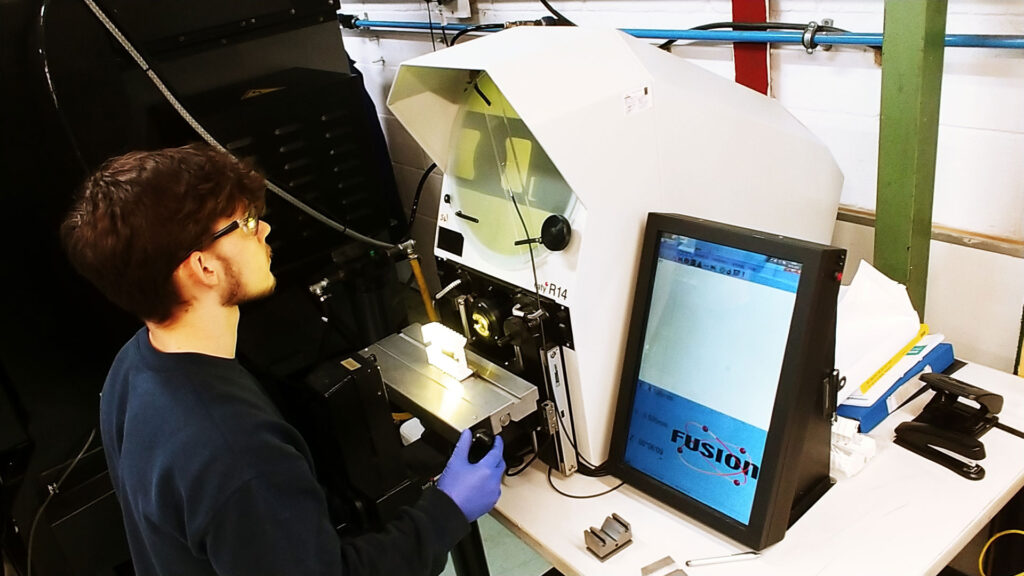
Quality checking a new batch of moulded components using the Baty Profile Projector
Our Broanmain tool shop continues to invest in precision machinery to support new projects, test customer prototypes and take on high quality, repeat technical mouldings. New technology recently added include a precision CMM machine, a profile projector for advanced quality control and a lathe to turn components.
Rather than using hand measuring instruments, adding a new coordinate measuring machine (CMM) advances the accuracy and speed by which the team can evaluate critical dimensional data, including the geometry and tolerances of parts.
Tool room manager Kamil Stec explains: “We are now able to measure features previously impossible or too time consuming, for example profile tolerances, arc lengths and true positions. The quality control team also uses this machine regularly when preparing First Article Inspection Reports. Once set up, the CMM measures multiple parts in quick succession.”
Also speeding up the quality control process at Broanmain is a new Baty bench mounted R14 profile projector. Used most days, the projector verifies that there are no faults or weak spots in the output, and that the quality of the mouldings is constant in any run size. An optical measurement tool, with a large 175mm x 100mm measuring range, software quickly gathers data from the profile of the part and undertakes thorough inspection. This process can reveal the most minuscule of faults. Kamil comments: “For some, quality is safety-critical, for others its requirement may be more aesthetic. Yet, most moulded components require consistency which our profile projector accurately checks.”
The addition of a new CNC Lathe to create complex profiles and contours on tools and other workpieces completes the toolroom’s suite of equipment.
“These latest pieces of equipment enable us to perform pretty much any tooling or engineering project on site. This is much more convenient for customers, keeps projects on track and enhances quality control from start to finish,” adds Kamil.
